Waiting for thick Texas toast to cook is hard. When your toaster pops up too early, the fix is easy. It is just trapped heat, old crumbs or a weak wall plug. I fought my old machine for years. Then I took it apart and fixed the small parts. Do not run to the store just yet. Let us clean it up and save your meal.
That Annoying Pop — What’s Actually Going Wrong
I used to think my toaster hated me. Seriously. Just last Thursday, I was standing in my freezing kitchen in my socks, dying for a hot, crunchy bagel. I pushed the lever down. I turned my back to pour my coffee. Barely ten seconds passed. Then I heard that weak, pathetic sound. Pop.
I touched the bread. Cold. Soft. Utterly sad.
When your toaster pops up too early, it feels like a personal insult. It is weirdly frustrating. But after taking mine apart (and getting my hands covered in black soot), I learned the truth. Your toaster is not mocking you. It is just making a really bad choice based on bad data.
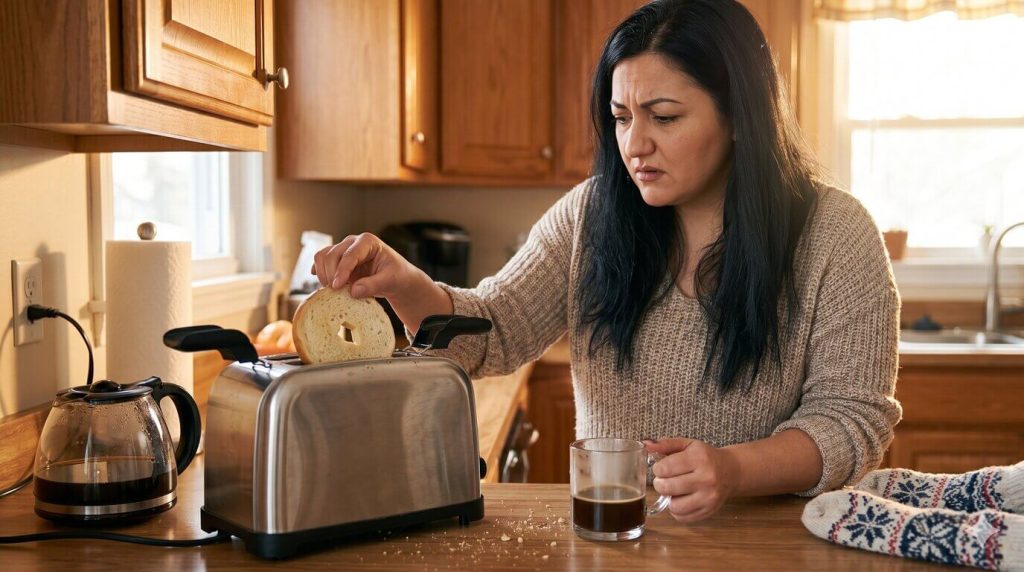
Think of your toaster like a tiny, stressed-out chef. It decides your breakfast is “done” based on three main things. If even one of these gets confused, your bread pops up way too soon.
Here is what is actually going on inside that metal box:
| The Culprit | What It Does | How It Fails You |
| Heat | Internal sensors feel how hot the toaster gets. | The metal heat sensor bends too fast, tricking the toaster into stopping. |
| Time | A small mechanical or electronic timer counts the seconds. | Dirt, age, or worn gears make the timer skip ahead. |
| Power | A tiny electromagnet holds the lever down while it cooks. | Greasy crumbs block the magnet, so the lever just slips. |
It is a very delicate balance. Heat, time, and power must work together perfectly. If the magnet is dirty, you get an early pop. If the heat sensor bends too early, you get an early pop. If the timer jumps, you guessed it—another early pop.
The good news? Once I figured out that my toaster was just confused, I stopped getting mad at it. I stopped guessing and started looking closely at the parts.
Quick Checks Before You Take It Apart
Hold on. Do not grab your screwdriver just yet. I know you are annoyed. But the fix might be sitting right in front of you. When a toaster pops up too early, the cause is often a very silly mistake. Before we take things apart, let’s look at the simple stuff on your messy kitchen counter.
Here is a quick cheat sheet for what to look for first:
| What You Notice | What It Means | The Easy Fix |
| Bread is totally white. | The browning dial is set too low. | Turn the knob back to 3. |
| Burnt campfire smell. | The crumb tray is packed full. | Dump out the old crumbs. |
| The lever feels loose. | The wall outlet is too weak. | Plug it into a new outlet. |
Did Someone Bump the Browning Dial?
This happens to me all the time. I wipe down my sticky counters on a Sunday afternoon. My wet sponge brushes against the toaster. Without knowing it, I knock the dial down to “1”.
Then there is the classic “toddler spin.” Kids just love turning shiny knobs.
- Check your settings: Look at the dial right now. Is it set too low?
- The quick fix: Turn it back to a solid “3”. That is usually the safe middle zone for perfect toast.

Is the Crumb Tray Overflowing?
Does your kitchen ever smell like a dusty, burnt campfire? I smelled that just last month. I ignored it until my toaster started acting crazy.
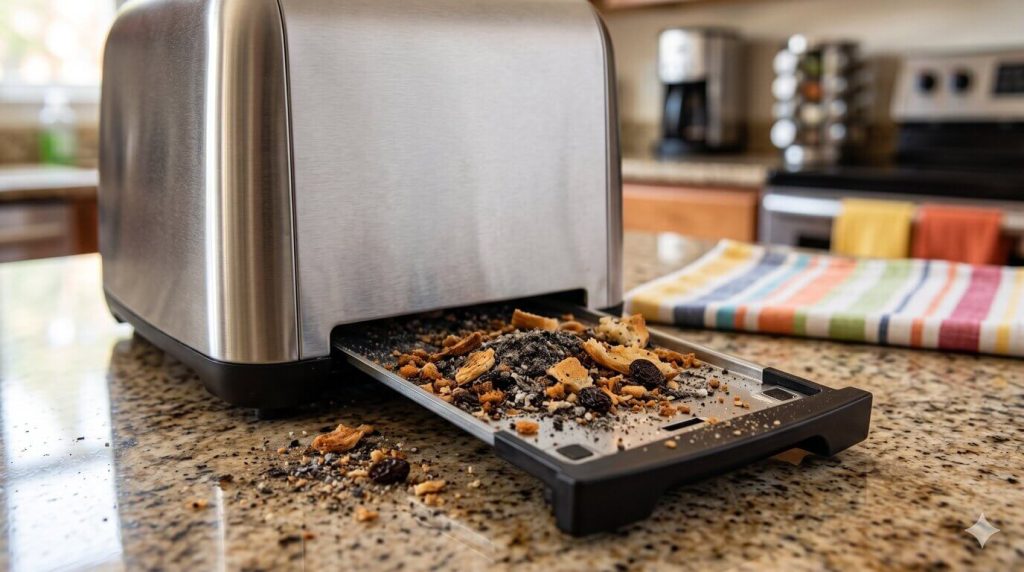
I pulled out the tiny crumb tray at the bottom. It was shocking. It was full of black dust, chunky bagel bits, and a rock-hard raisin.
Why does this matter? A mountain of crumbs blocks the airflow. It also physically stops the lever mechanism from locking into place.
- What to do: Slide out that little bottom tray.
- Clean it up: Dump the black ash in the trash. Wipe the tray totally clean.
Try a Different Power Outlet
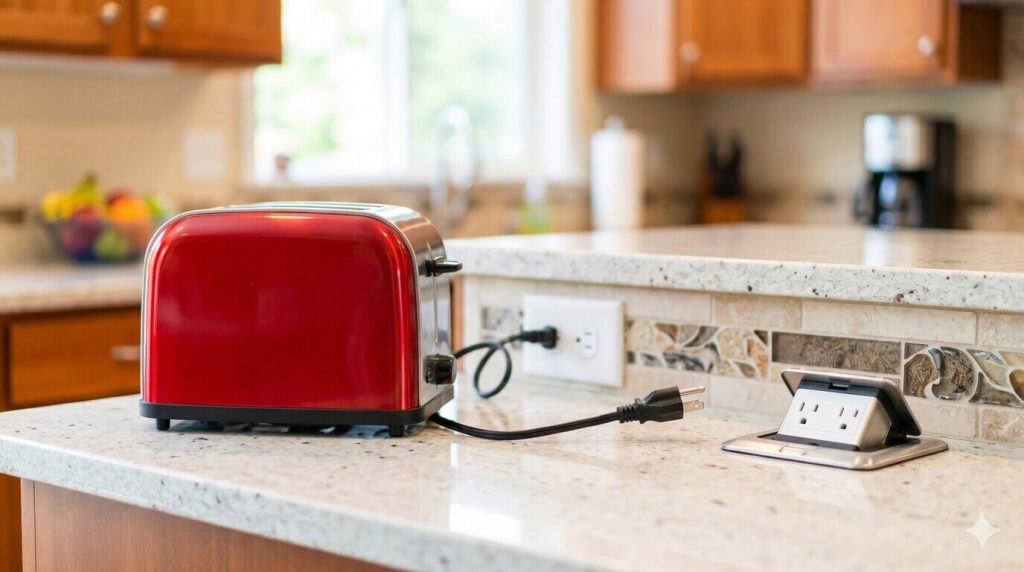
This one really surprised me. Your toaster uses a tiny electromagnet to hold the lever down. If your wall outlet is weak, that magnet gets weak, too.
If your toaster pops up too early and the lever refuses to stay down, your power outlet might be the bad guy. The toasting will feel incredibly inconsistent.
- The easy test: Unplug your toaster from the wall.
- Move it: Carry it across your kitchen. Plug it into a completely different outlet. Try it again. If it stays down now, your toaster is fine!
The Hidden Cause Most People Miss — Residual Heat
This is the sneaky trickster. It gets me every single time I make breakfast for a crowd.
Picture this. It is Sunday morning. My family is waiting at the kitchen island. I am playing short-order cook. I drop the first two slices of sourdough into the slots. They come out perfect. They are golden brown and smell amazing. I feel like a kitchen hero.
Then, I drop the next two slices in. I do not touch the dial. I just push the lever down. Ten seconds later? Pop.
The bread is totally pale. It is barely warm. I used to stare at the machine, completely baffled. Why does my toaster pop up too early on the second round? I felt like I was losing my mind.
The hidden answer is residual heat. Your toaster is not broken. It is just already piping hot from the first round.
Here is a quick look at what happens inside the metal box:
| Breakfast Round | Toaster Status | The Result |
| First Batch | Cold metal, room temperature. | Perfect, golden toast. The timing works exactly right. |
| Second Batch | Hot metal, glowing wires. | Pale, sad bread. The heat sensor trips much too fast. |
When you make toast back-to-back, the internal temperature is already very high. You can feel the heat radiating off the top. Because of this, the little heat sensor inside gets tricked. It thinks the browning cycle is finished way before the bread actually cooks. So, it trips the lever. Your toaster pops up too early simply because it started out hot.
How to Beat the Heat
You do not need any tools to fix this. You just need to change your morning habits. When I am feeding a hungry family, I use two simple tricks.
- Lower the setting: If my first batch was on a “4”, I turn the dial down to a “3” for the second batch. A hot toaster needs less time to brown the next slice.
- Give it a rest: I just let the toaster sit empty for about sixty seconds. I use that quick break to butter the first slices. The metal cools down. Then, the next batch toasts perfectly.
It is such a simple fix. But knowing this little trick saves me so much daily breakfast stress.
The Deep Clean That Fixes Half of All Problems
Let’s get messy. When my toaster pops up too early, a deep clean usually fixes it. It is oddly gross. But it is also highly satisfying. I did this last Saturday afternoon by my kitchen sink. I was shocked by what I found hidden inside.
Unplug First (Seriously)
Do not skip this step. I mean it. Pull the thick black cord right out of the wall.
You are going to use tools inside the metal slots. Metal tools plus live electricity equal a really bad morning. I never risk a dangerous shock. Just unplug it first. It takes two seconds.
The Great Upside-Down Shake
This is my favorite part. I carry the appliance over to my deep stainless steel sink. You can hover over a big trash can, too. I flip the whole thing upside down. Then, I give the sides a few solid taps. I shake it hard.
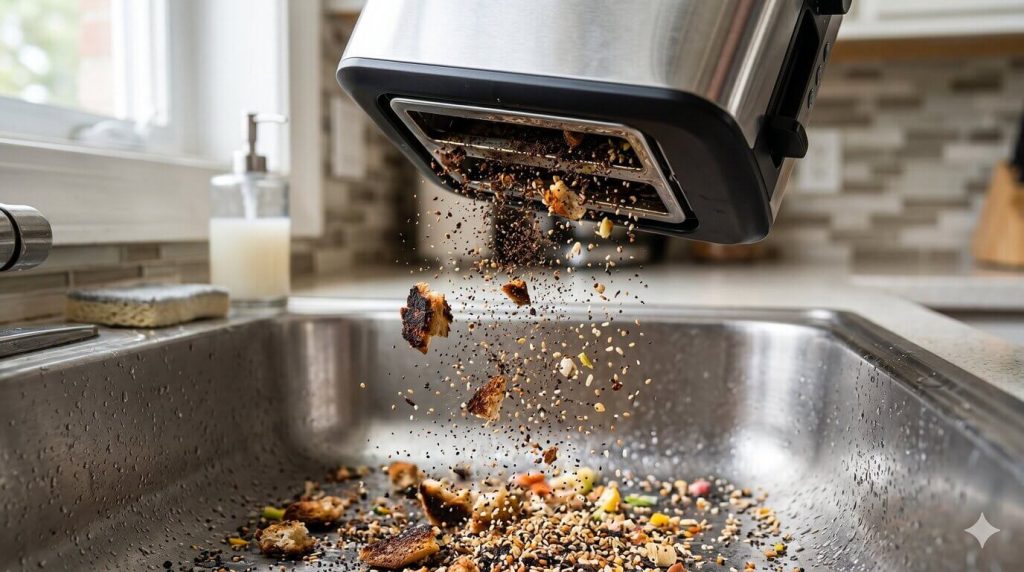
What falls out might actually gross you out. It always surprises me. The sound of hard crumbs hitting the metal sink is wild. Keep shaking until it stops raining food.
Here is a quick look at what usually falls out of mine:
| The Debris | Where It Probably Came From |
| Black dust clouds | Years of daily toasting. |
| Burnt crust chunks | That thick sourdough bread from last week. |
| Tiny hard seeds | My favorite everything bagels. |
| The mystery crumb | Honestly, I do not want to know. |
Cleaning the Heating Elements
Now, look down inside the dark slots. Do you see those tiny, thin wires? Those are the heating elements. They glow bright red when the machine gets hot.
I take a completely clean, dry toothbrush. I reach down inside. I very gently sweep away any stuck black debris. The dry bristles act like a tiny broom.
But please, hear my warning. Those little wires are incredibly fragile. You must go slow. If you bend or snap one of those delicate wires, it is game over. You will have to go buy a brand new toaster. So, treat them like glass.
Mechanical Glitches You Can Actually Fix
I used to think my machine was completely dead. But sometimes, it is not a major electrical failure at all. It is just sticky friction.
Think about where your toaster sits. Mine lives right next to the stove. Years of frying Sunday morning bacon leaves a hidden layer of ancient grease in the air. That grease lands on the toaster. Add some everyday dust and grime, and the moving parts just stop working right. When a toaster pops up too early, it is often just a dirty, stuck part. You can easily fix this yourself.
Here is a quick look at the two most common mechanical traps:
| The Glitch | How It Feels | What Actually Causes It |
| Sticky Lever | Rough, gritty, and slow. | Sticky kitchen grease on the track. |
| Weak Catch | The handle slips right back up. | Crumbs blocking the inside magnet. |
The Sticky Carriage Lever
Let’s test the main handle. Push the carriage lever down very slowly. Do not put bread in yet. Just feel the movement. How does it feel?
Last Tuesday, I pushed mine down and it felt awful. It was rough, gritty, and totally uneven. It felt like I was dragging a heavy rock across wet sand. It was getting stuck halfway down.
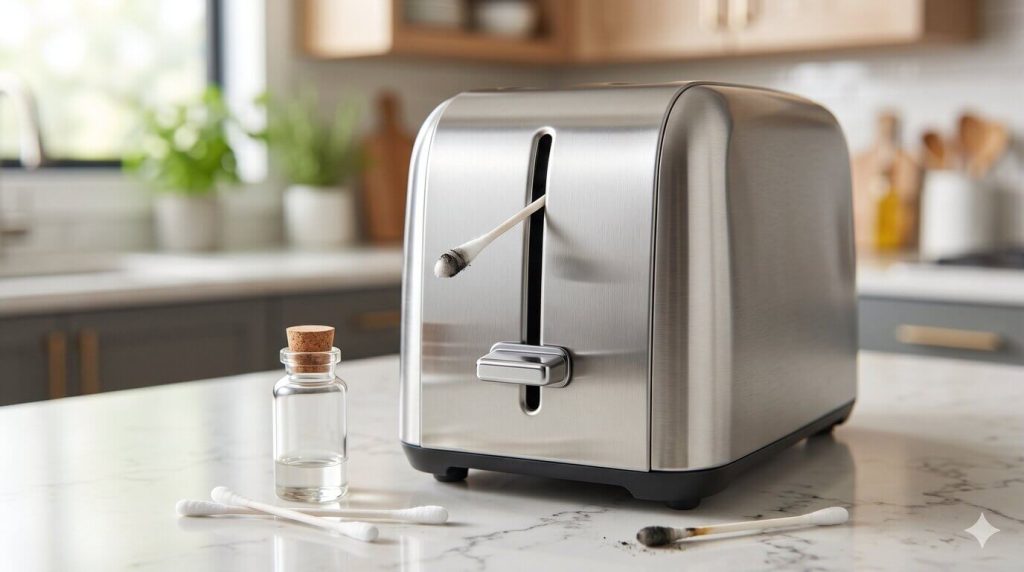
- The easy fix: I grabbed a soft cotton swab from the bathroom. I dipped it into a tiny drop of rubbing alcohol.
- The cleanup: I gently wiped down the long metal track where the lever slides up and down. The swab came out totally black. I used two more swabs until the track was clean. After that, the lever slid down as smooth as glass.
The Electromagnet Contact Point
Remember how we checked the wall outlet earlier? If plugging it into a new spot did not fix your magnet issue, the inside contact point is probably just dirty.
Deep inside the machine, there is a tiny metal connection. This little spot acts like a magnet to hold your toast down while it cooks. If that tiny metal plate is covered in bacon grease or bread dust, it cannot grip. The metal slips. And suddenly, your toaster pops up too early again.
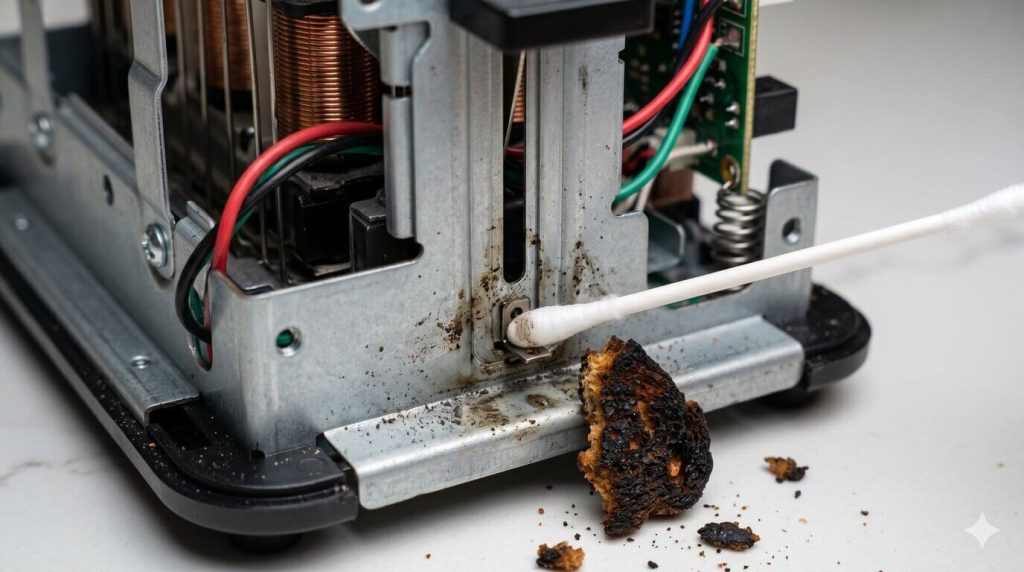
- The dry clean: Do not use liquid here. Reach in with a clean, dry cotton swab.
- The fix: Gently wipe the tiny metal contact area at the bottom of the lever track. Rub away the old grease or crumbs that are blocking the connection.
I did this exact trick. I pulled out a huge, burnt breadcrumb that was blocking the magnet. I pressed the lever down, and it clicked firmly into place on the very next try. It felt like a massive win.
When the Thermostat Is the Real Problem (Advanced Fix)
Now we are getting into the actual brain of the toaster. This is an advanced fix. You have to open the machine. I did this on a rainy Tuesday evening when I finally had enough. I grabbed my small screwdriver. I was feeling very brave.
The Bimetallic Strip (Heat Sensor)
Inside your toaster, there is a thin metal piece. It acts as a heat sensor. It is called a bimetallic strip. When the toaster gets hot, this little strip bends. When it bends far enough, it triggers the machine to shut off.
But metal gets tired over time. Think about all those daily heat cycles. After a few years of making breakfast, that strip weakens. It bends much too quickly. The toaster “thinks” the bread is done cooking way before it actually is.
This is a massive reason why your toaster pops up too early. The machine is not fully broken. It is just confused.
Here is a quick look at the sensor behavior:
| Sensor Condition | How It Reacts to Heat | The Final Result |
| Brand New Metal | Bends slowly and evenly. | Perfectly toasted, warm bread. |
| Old, Tired Metal | Bends much too fast. | Cold, pale, and sad bread. |
How to Recalibrate It
You can actually fix this issue yourself. You just need to recalibrate the sensor.
First, take the toaster to a bright spot on your kitchen table. Turn it upside down. Remove the small screws from the base. Slowly pull the outer shell off.
- My big warning: Watch out for sharp metal edges inside! I actually sliced my thumb open the first time I tried this. It stung for days. Please go slow and be careful.
Once the shell is off, locate the browning control area. Look right behind the dial you turn every morning. You will usually find a tiny calibration screw hiding right there.
- The adjustment rule: Take a tiny screwdriver. Turn that screw slightly to the right (clockwise). This tightens the sensor and increases your toasting time.
- Make tiny moves: Use very tiny movements only. Seriously, just turn it a hair. Test the toaster before you put all the screws back in.
A Reality Check — It Might Not Be the Toaster
Here is a huge blind spot. I ignored this for years. Sometimes, we blame the poor appliance when the real problem is the food we put inside it.
Last Saturday, I walked to the bakery. I bought a fresh loaf of sourdough. I cut a thick slice and dropped it in. Ten seconds later. Pop. It came out totally pale and soft. I was so mad. I wondered, why does my toaster pop up too early again? But then I touched the bread. It felt damp and heavy. The machine was actually fine. The bread was just tricking the sensors.
How Bread Type, Thickness, and Moisture Trick Your Toaster
Not all bread cooks the exact same way. Your toaster relies on heat to measure time. If the food inside fights the heat, the machine gets very confused.
Here is a quick look at how different foods change the rules:
| Food Type | Moisture Level | How It Cooks |
| Basic White Bread | Very dry and light. | Toasts lightning-fast. |
| Dense Whole Grain | Heavy and packed with oils. | Takes much longer to brown. |
| Frozen Waffles | Ice cold. | Completely slows the internal temperature sensors down. |
Here is what I learned about why my bakery loaf failed that morning:
- Moisture creates steam: Super fresh bread holds a ton of water. When you heat it, that water turns into steam. You can actually see the steam rising out of the slots. This steam delays the browning process. The toaster thinks it is done, but the bread is just taking a hot bath.
- Thickness matters: A thick, artisan slice takes way more heat to reach the center. A thin slice of cheap white bread burns in just a few seconds.
- Switching brands: Did you just buy a new brand of bread at the grocery store? Your toaster is not broken at all. It is just adjusting to a brand new recipe.
So, before you throw your appliance in the trash, check your bread bag. You might just need to push the lever down for a second round.
When It’s Time to Stop Fixing
Let us be completely honest. You do not need to become a certified toaster technician just for a Tuesday morning bagel.
Sometimes, you just have to stop. I remember sitting on my cold kitchen floor last month. My hands were covered in black grease. I smelled like burnt crust. I was sweating and annoyed. I finally realized my machine was totally dead. If your toaster pops up too early after trying all these deep cleaning tricks, it might just be time to quit.
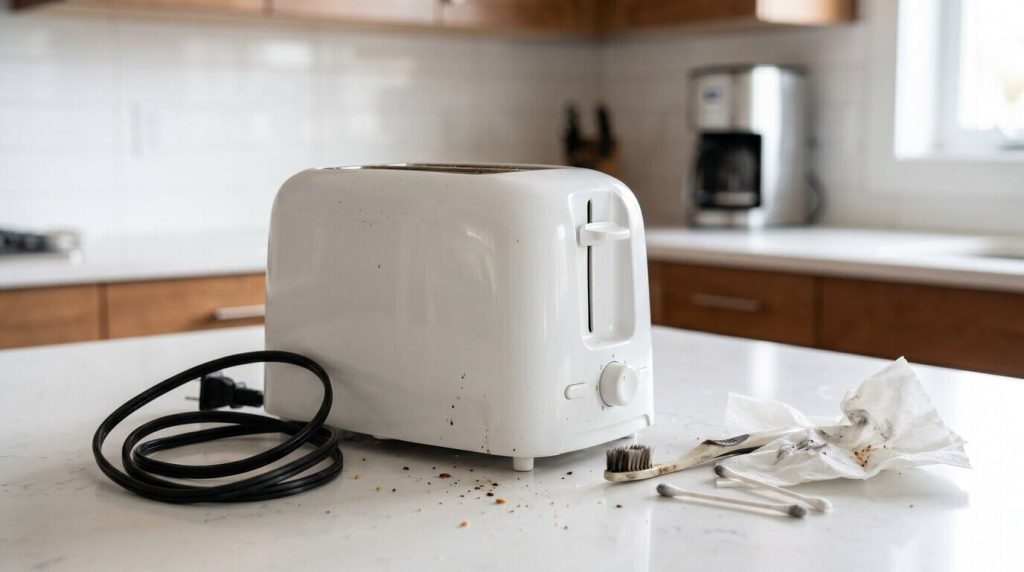
Here is a quick cheat sheet to help you decide:
| The Problem | What You See | Your Next Move |
| A snapped wire | The heating wire is visibly broken in half. | Throw the toaster away safely. |
| Under a year old | You bought it just a few months ago. | Call the brand for a free swap. |
| A cheap old model | It cost twenty bucks five years ago. | Treat yourself to an upgrade. |
Check the Warranty First
Before you throw it out, check your old paperwork. I recently spent twenty minutes digging through my messy kitchen junk drawer. I pushed past dead batteries, old rubber bands, and sticky menus. Finally, I found my crinkled store receipt.
My appliance was only ten months old. Many big brands will quickly replace faulty units for free. If the internal catch fails early, they know it is a factory mistake. Do not waste your morning trying to rebuild a bad machine. Just make a quick phone call and ask for a new one.
Accept the Upgrade
Sometimes, an appliance just reaches the end of its life. Grab a flashlight and look inside the slots one last time. Is the little heating wire visibly snapped in half? It usually looks just like a broken metal guitar string. If you see that, it cannot be fixed safely. Do not even try.
Cheap toasters wear out fast. The internal components simply are not built to last forever. When I saw my broken wire, I washed the black dust off my hands. I sighed deeply. I gently placed my old plastic toaster in the recycling bin.
If you have cleaned, shaken, and tested everything to no avail, just let it go. It is perfectly okay to accept the upgrade. Go treat yourself to a reliable machine that actually cooks a hot, crunchy breakfast.
Final Thought — It’s Not Just a Toaster Problem
Standing in my cold kitchen at 6 AM, waiting for bread that never browns, is oddly frustrating. It used to ruin my whole morning. But now, I do not just stand there and sigh when my toaster pops up too early. I finally have the upper hand.
It is not magic. It is just a machine. Once you understand the basic mechanics of heat, timing, and power, you stop guessing. You stop getting mad at a metal box.
Now, when things go wrong, I know exactly what to do. Here is my quick mental checklist:
| The Morning Issue | What I Do First | The Feeling |
| No heat at all | I test the wall plug. | Relief. An easy fix. |
| Pale, sad bread | I check the browning dial. | Oops. A silly mistake. |
| Burnt, dusty smell | I dump the crumb tray. | Gross, but satisfying. |
You have the power to fix this. You can do a quick visual check. You can easily swipe out those old crumbs. You can get your breakfast working exactly the way it should.
Now, go enjoy a hot, crispy slice of toast with a thick layer of melting butter. You earned it.
Frequently Asked Questions
Why does thick bread take longer to brown?
Thick slices hold a lot of water inside. The machine must dry the bread first to make it crisp. Try a lower heat setting for a longer time to get a great crunch.
Can I wash the bottom crumb tray with soap?
Yes, you can wash the pull out tray. Scrub it with warm water and mild soap. Dry it well to stop your meal from popping up too early and smelling bad.
What should I do if the main handle feels stuck?
Cooking grease coats the track inside. This makes the handle hard to push. Unplug the cord and wipe the track clear with a dry swab to make it slide fast again.
Is it safe to touch the glowing red wires inside?
No, you must never touch those thin wires. They break fast and ruin the whole unit. Always use a soft, dry brush to sweep out stuck food from the slots safely.
How long should a hot machine rest between uses?
Let the hot metal cool down for one full minute. A hot machine cooks too fast, which makes your toaster pop up too early. A quick rest gives you a perfect crunch.